There’s something inherently nostalgic and comforting about the sweet aroma of strawberries wafting through the kitchen as they simmer into a luscious jam. Homemade strawberry jam is not just a spread; it’s a labor of love that captures the essence of ripe summer strawberries. In this blog, I’ll guide you through a simple yet delightful recipe to make your own batch of strawberry jam right in your kitchen.
- 1 kg fresh strawberries, hulled and chopped
- 700g granulated sugar (adjust according to taste and sweetness of strawberries)
- Juice of 1 lemon
- Optional: 1 tablespoon of pectin for a firmer jam (if desired)
Instructions:
- Prepare the Strawberries: Start by thoroughly washing the strawberries under cold running water. Once cleaned, remove the green stems and hull the strawberries. Chop them into small pieces. The size of the pieces will determine the texture of your jam, so chop according to your preference.
- Macerate the Strawberries: Place the chopped strawberries in a large mixing bowl and sprinkle the sugar evenly over them. Gently toss the strawberries and sugar together until the sugar coats all the pieces. Let the mixture sit at room temperature for about an hour. This process helps the strawberries release their juices, intensifying their flavor.
- Prepare for Cooking: After macerating, transfer the strawberries and any accumulated juices to a large, heavy-bottomed saucepan. Add the lemon juice to the mixture. If you’re using pectin, add it at this stage. Pectin helps the jam set and achieve a thicker consistency.
- Cook the Jam: Place the saucepan over medium heat and bring the strawberry mixture to a gentle boil, stirring frequently to prevent burning. Once it reaches a boil, reduce the heat to low and let it simmer uncovered. Stir occasionally and skim off any foam that forms on the surface.
- Test for Doneness: As the jam simmers, it will gradually thicken. To check if it’s done, you can perform a “wrinkle test.” Place a small amount of jam on a chilled plate and let it cool for a few seconds. Push the jam with your finger; if it wrinkles and holds its shape, it’s ready. If not, continue cooking and retest every few minutes.
- Jar and Store: Once the jam reaches the desired consistency, remove it from the heat and let it cool slightly. Carefully pour the hot jam into clean, sterilized jars, leaving about 1/4 inch of space at the top. Seal the jars tightly with lids.
- Optional: Water Bath Canning If you plan to store the jam for an extended period, consider water bath canning to seal the jars properly. Submerge the filled and lidded jars in boiling water for about 10 minutes. Then, carefully remove them and let them cool completely before storing in a cool, dark place.
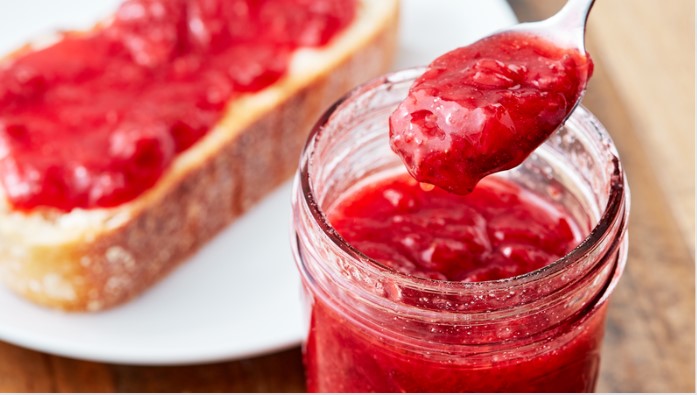
- Enjoy Your Homemade Strawberry Jam: Once cooled and sealed, your homemade strawberry jam is ready to enjoy! Spread it generously on toast, scones, or use it as a topping for yogurt, ice cream, or pancakes. It also makes a delightful filling for cakes and pastries. Store any unopened jars in the pantry, and once opened, refrigerate and consume within a few weeks.
Conclusion: Making strawberry jam at home is a rewarding experience that allows you to savor the sweet taste of summer all year round. With just a few simple ingredients and a bit of patience, you can create a delicious spread that’s bursting with flavor. Whether you enjoy it on breakfast pastries or as an accompaniment to your favorite desserts, homemade strawberry jam is sure to brighten your day with its vibrant taste and aroma.